
Migrating Publii from a GitHub Pages connection to Git
I fired up Publii for the first time in a while today. I wanted to blog about a technical problem that was niche enough that an article might help the next person who runs into it. Instead, I found myself solving a sort-of-obtuse Publii issue, so I guess it's time to write two blog posts about niche technical problems.
Publii, the software I use to write this blog, will deprecate direct support for GitHub Pages in version 0.46. Instead, you'll need to use a direct Git connection. But there are some landmines, so I'll walk you through what I had to do to migrate this blog from using the GitHub Pages configuration to the straight Git configuration.
Gather Information
First, you'll need to ensure you've got some information about the GitHub repository hosting your existing blog.
- Your GitHub username (e.g.,
charlesjohnson) - The direct git link for the GitHub repo that hosts your site. This will be the URL to the repo with .git appended (e.g.,
https://github.com/charlesjohnson/publii-blog). - A valid GitHub token. Follow the instructions Publii posted here.
Configure your CNAME
If your blog already uses a custom domain and contains a CNAME file, you'll have to manually set up that file in Publii before converting the site from a GitHub Pages connection to a Git connection. Otherwise, your site will vanish the next time you hit publish.
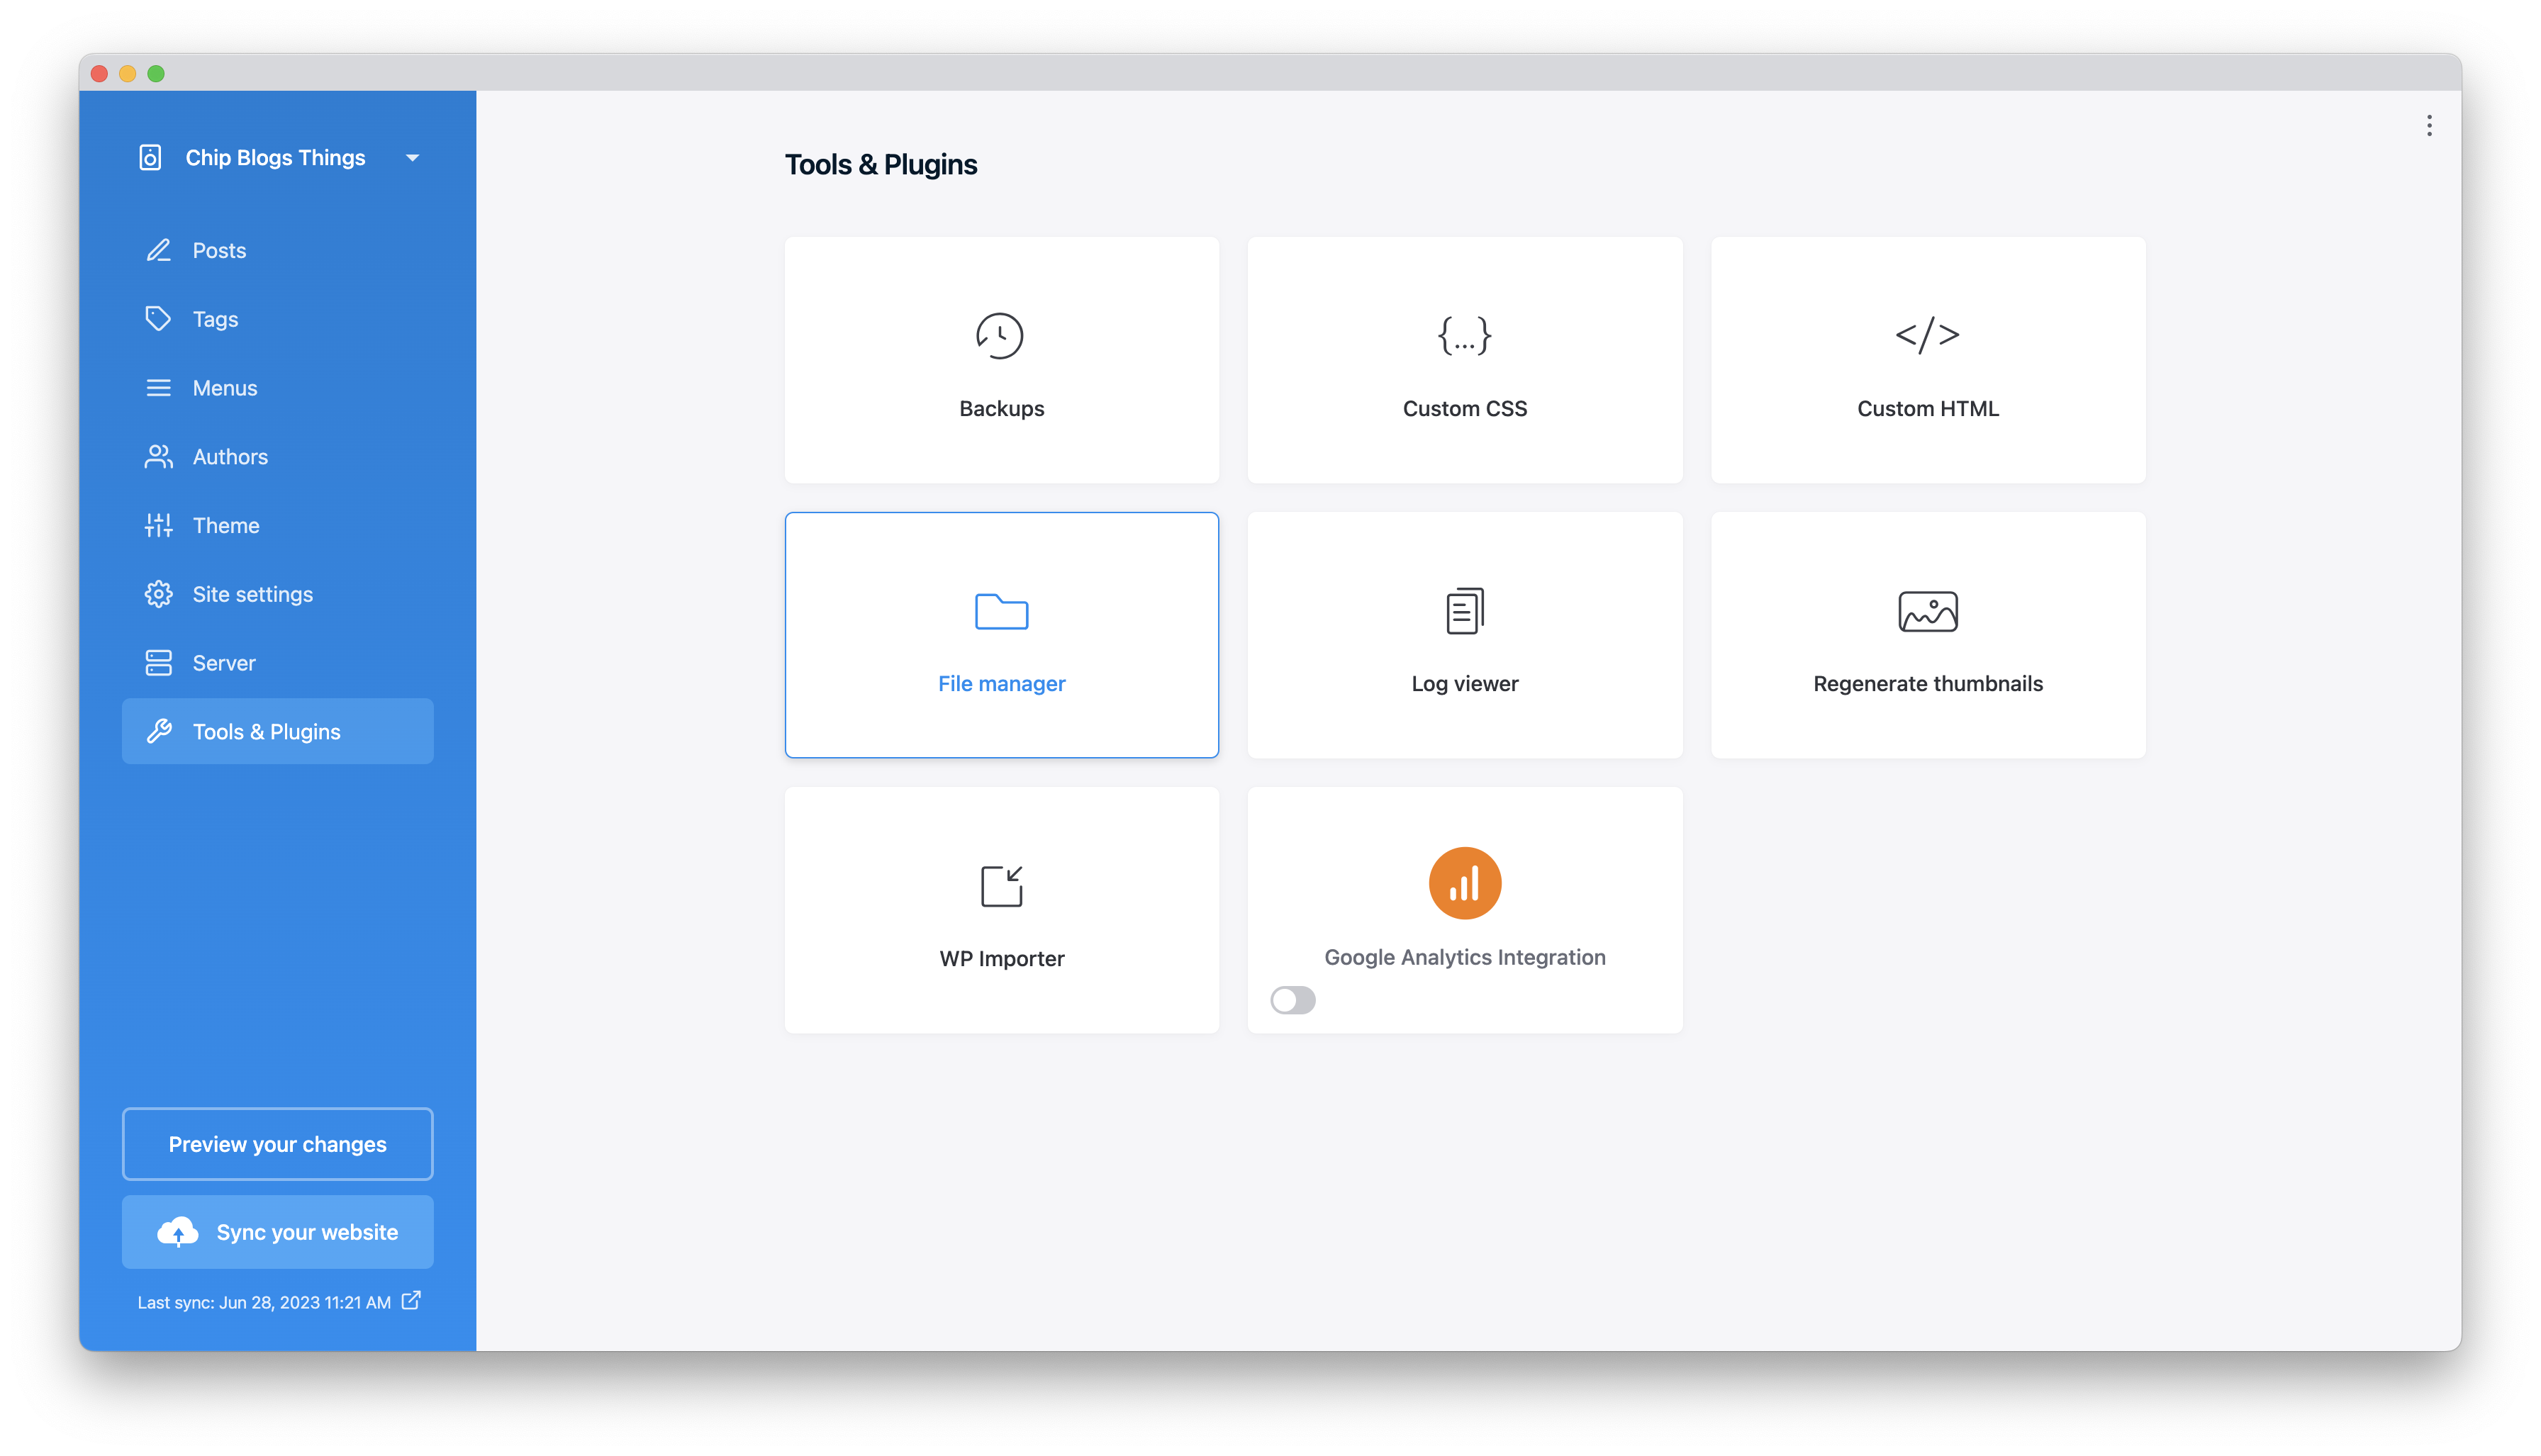
Under "Tools & Plugins," select File Manager.
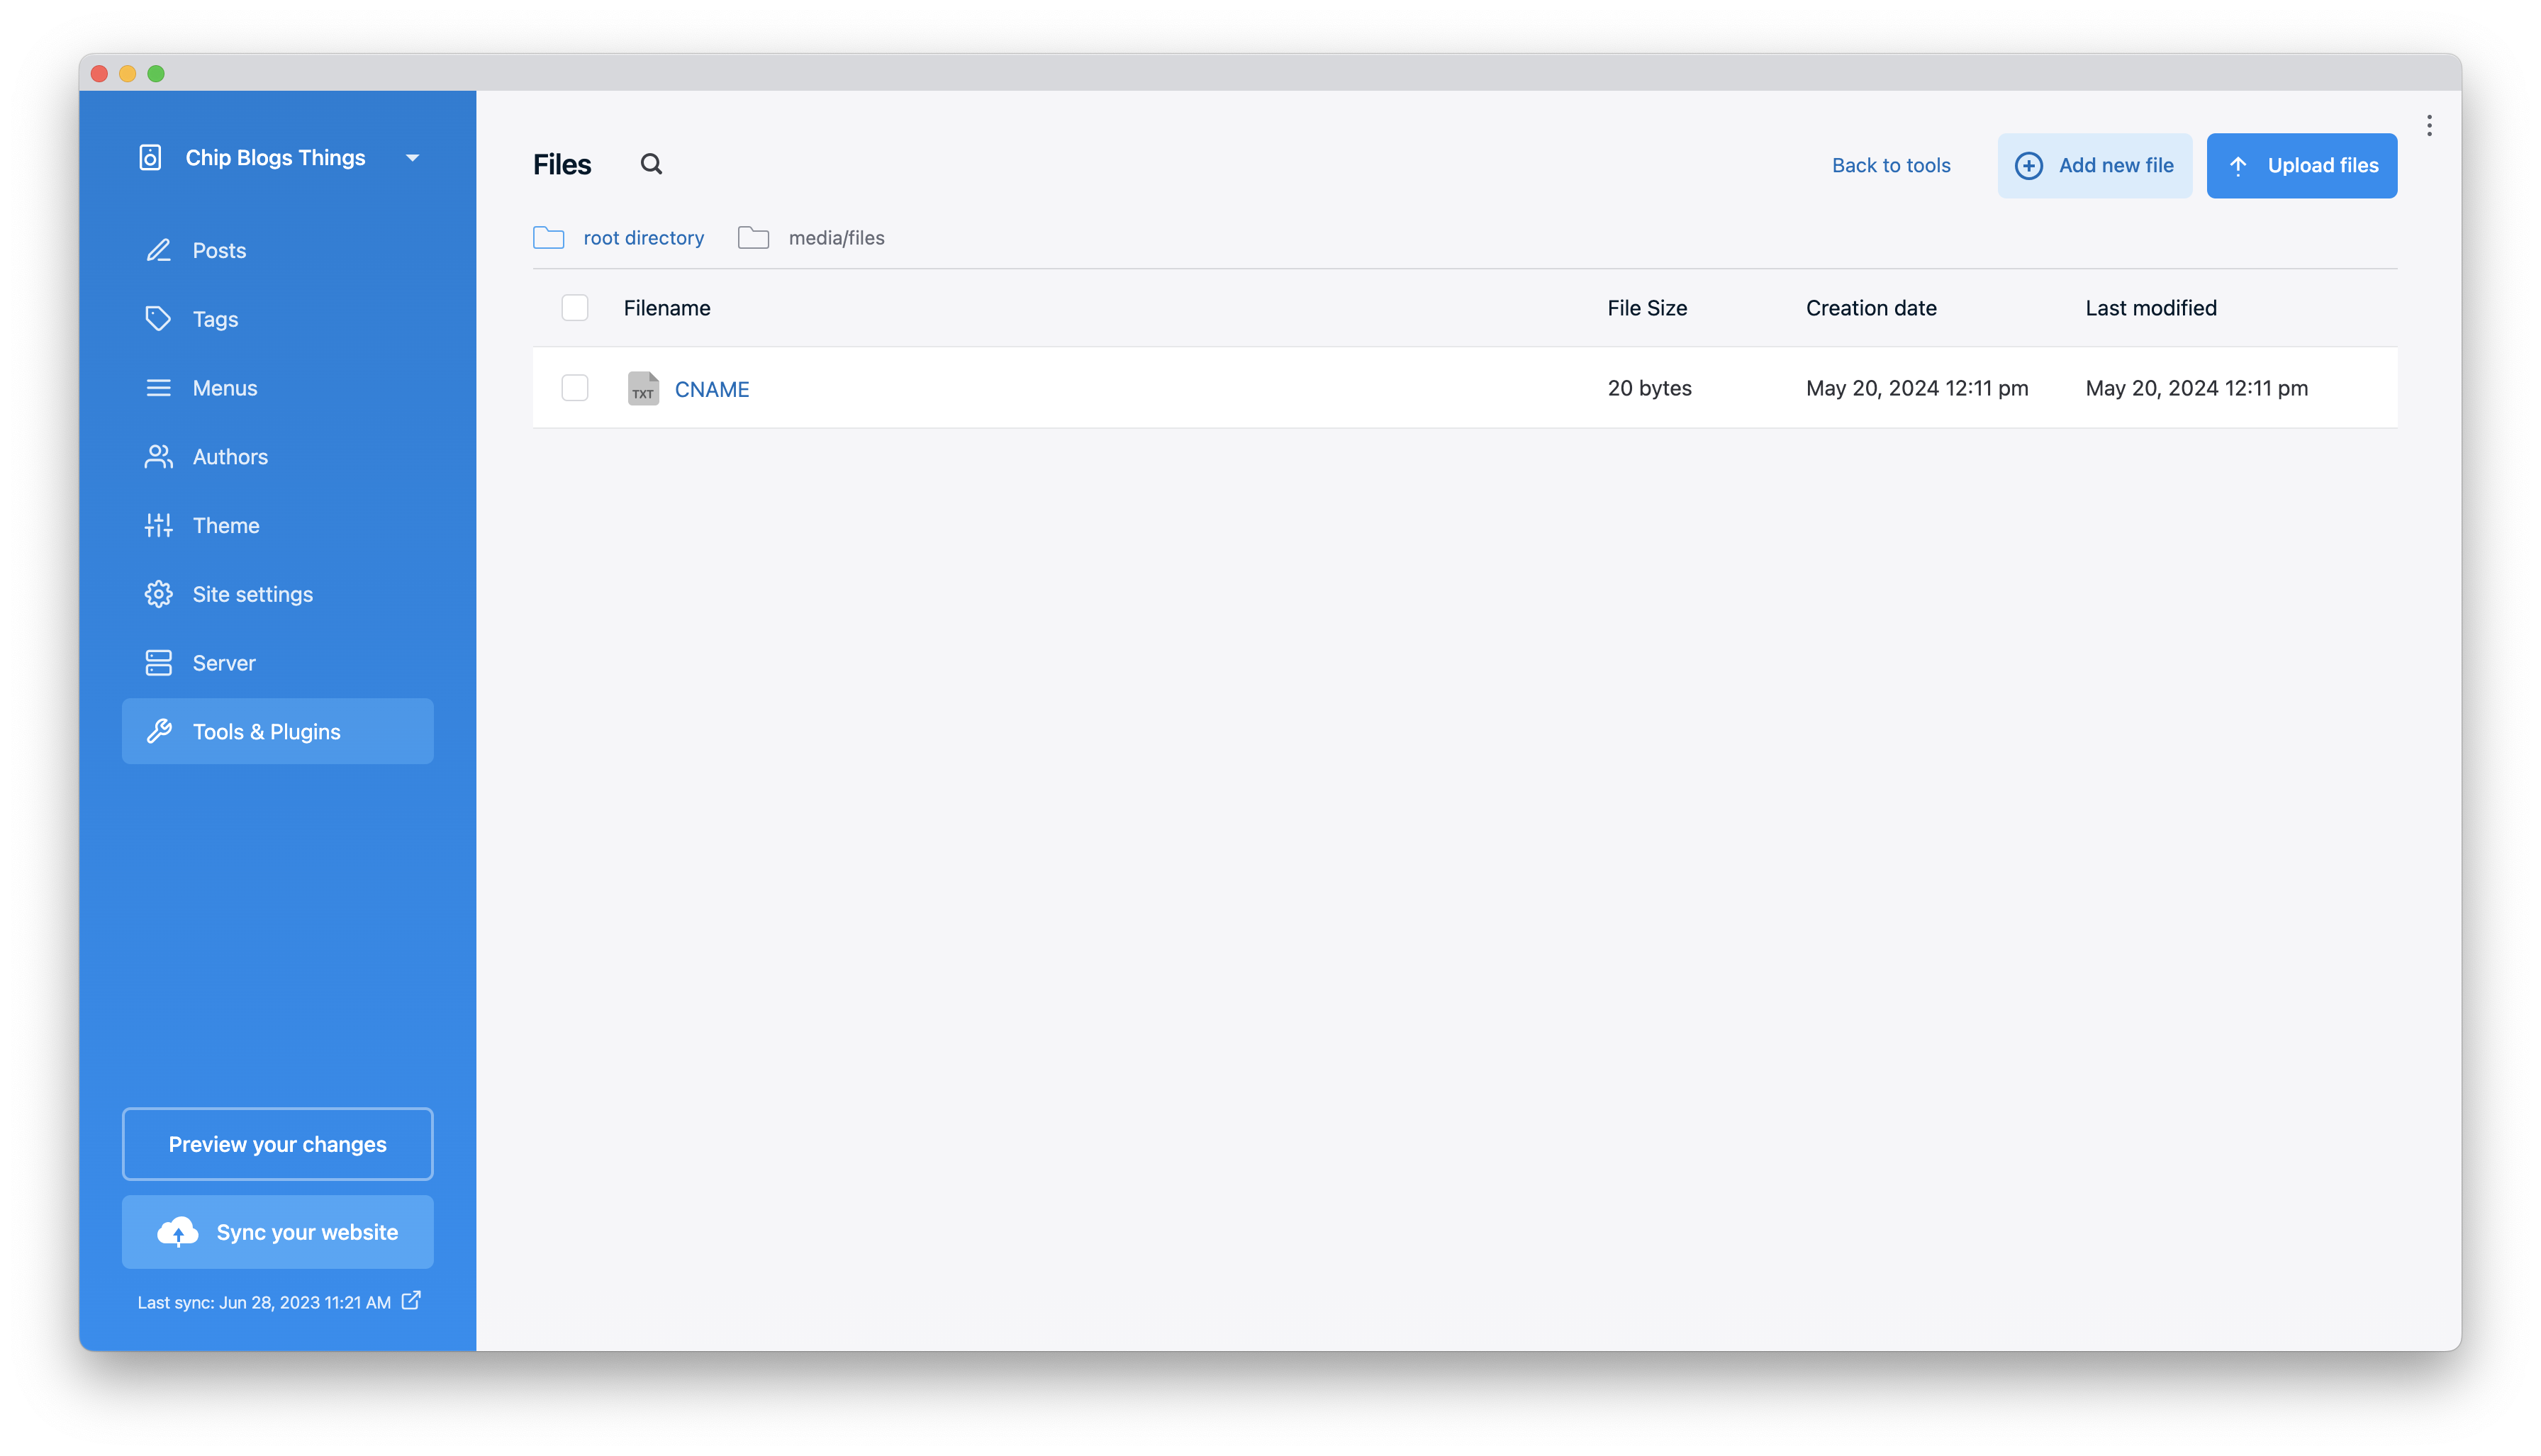
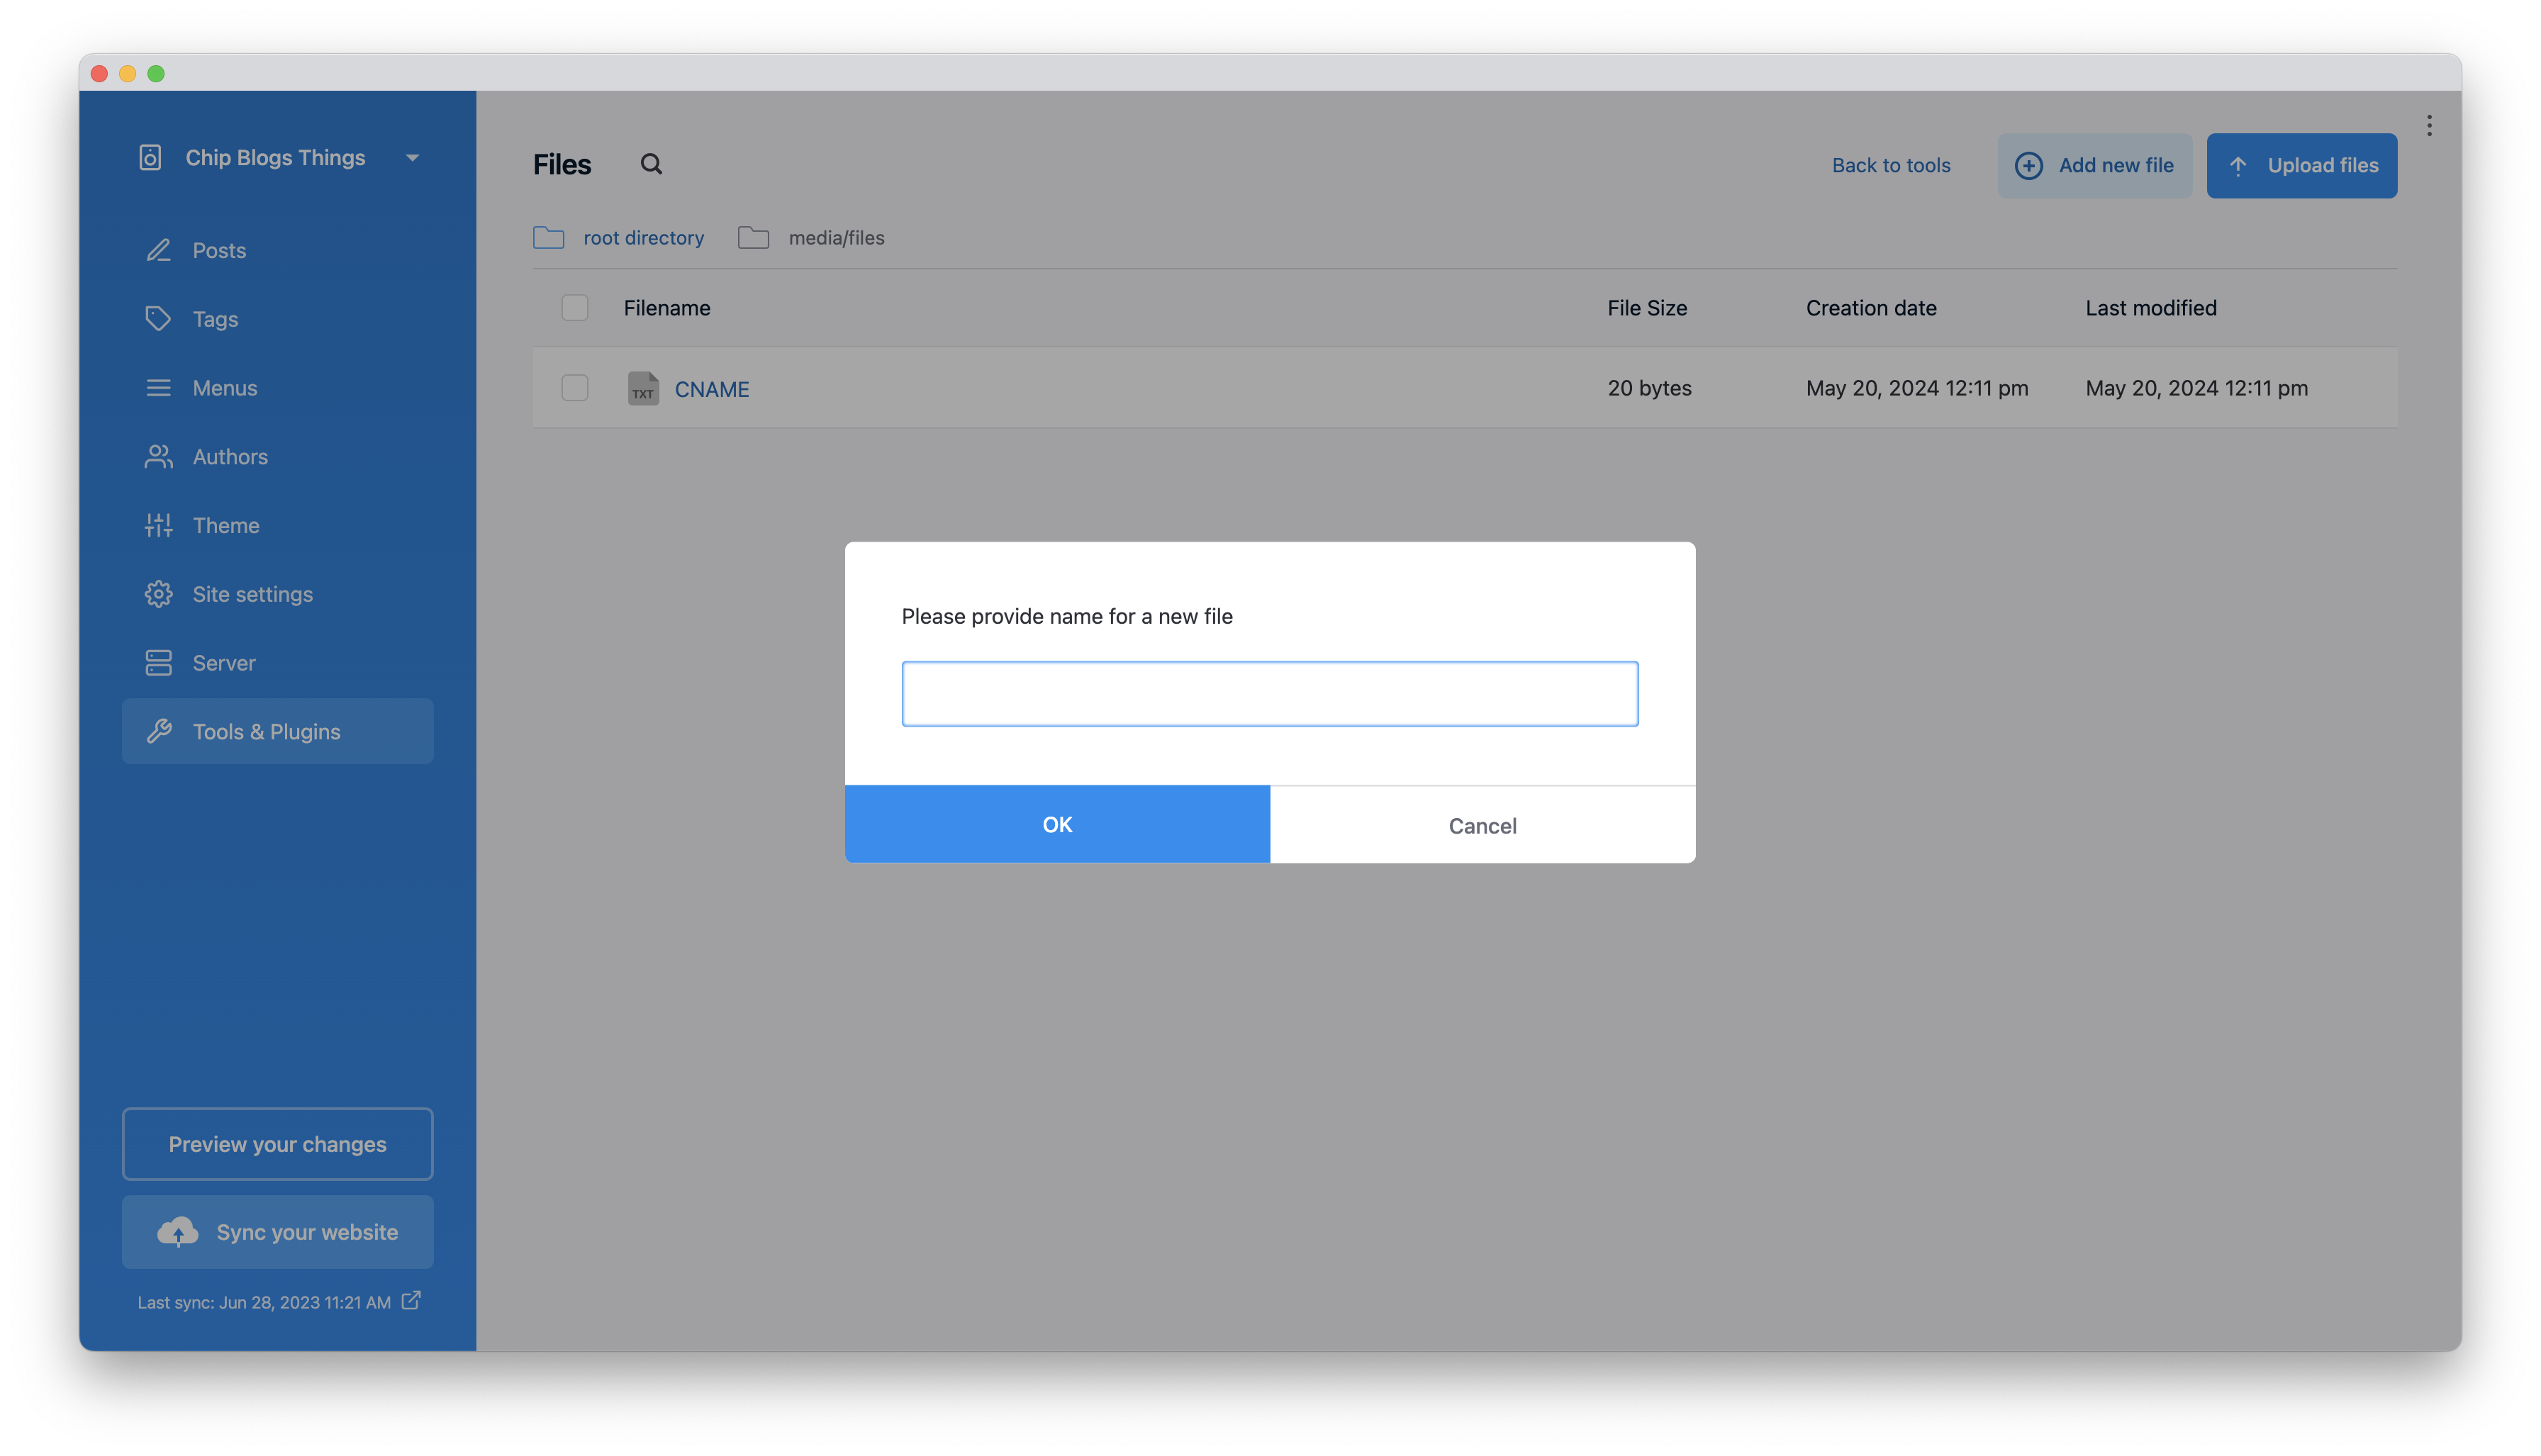
In the File Manager, create a new file, and call it CNAME.
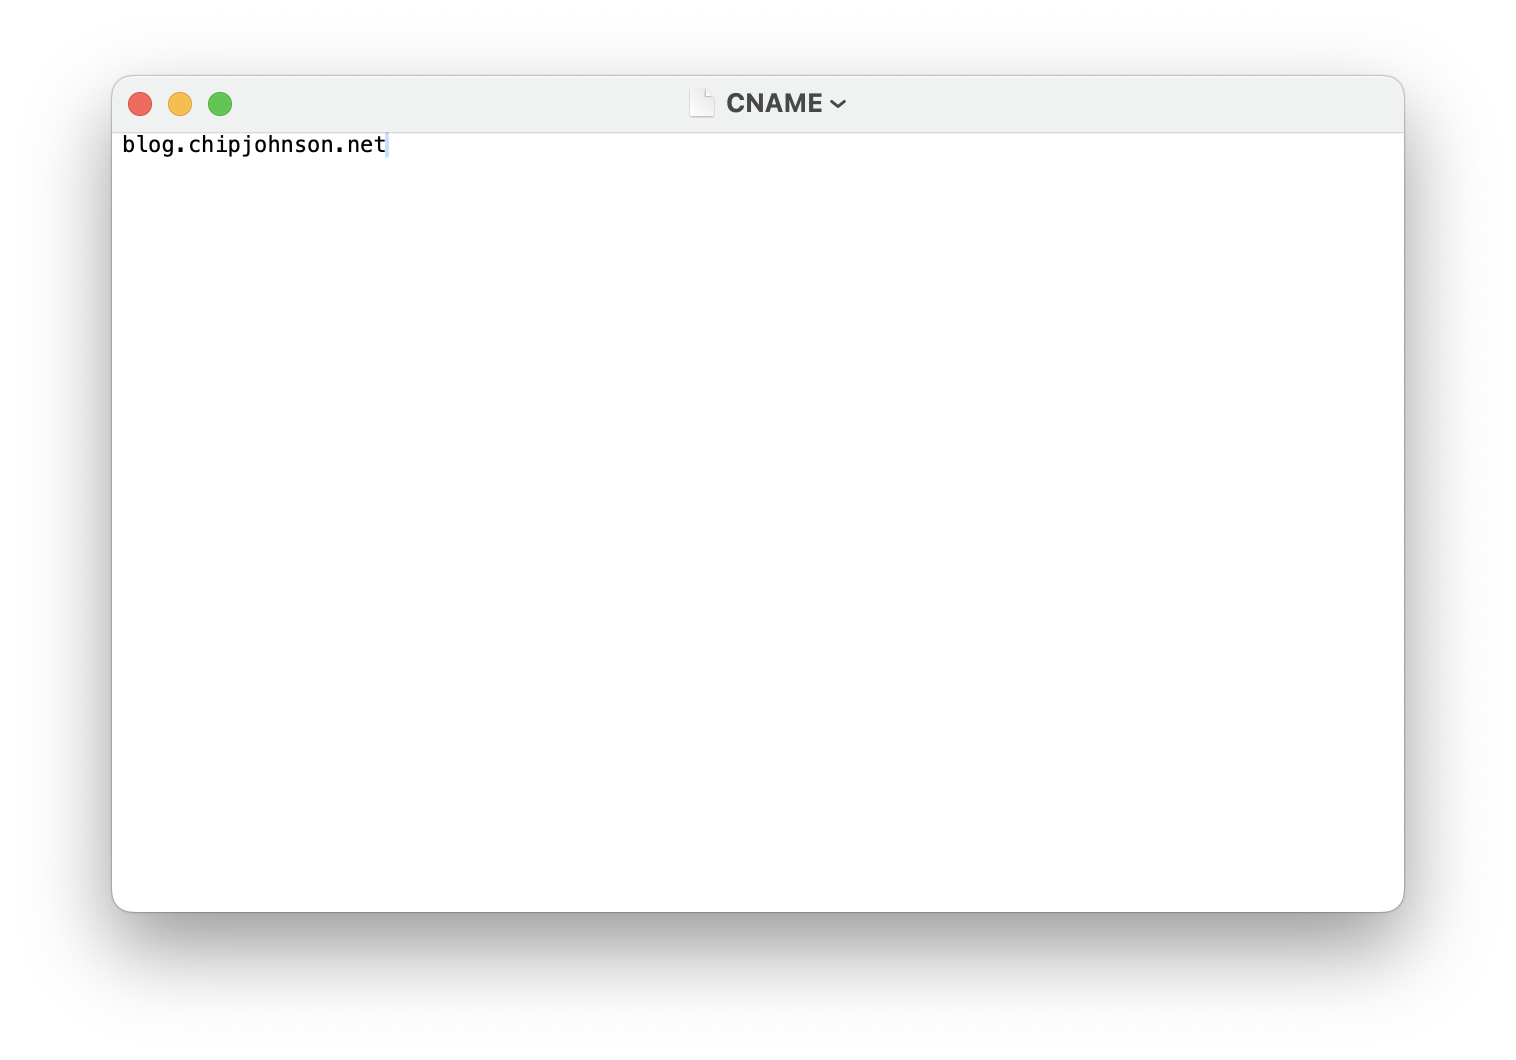
Double-click on the new CNAME file to open it in a text editor, and ensure that it contains the name of your blog.
Configure a Git Server
It's finally time to create a new server connection for your blog. Select Server on the left navigation, then select Git™️ Repository.
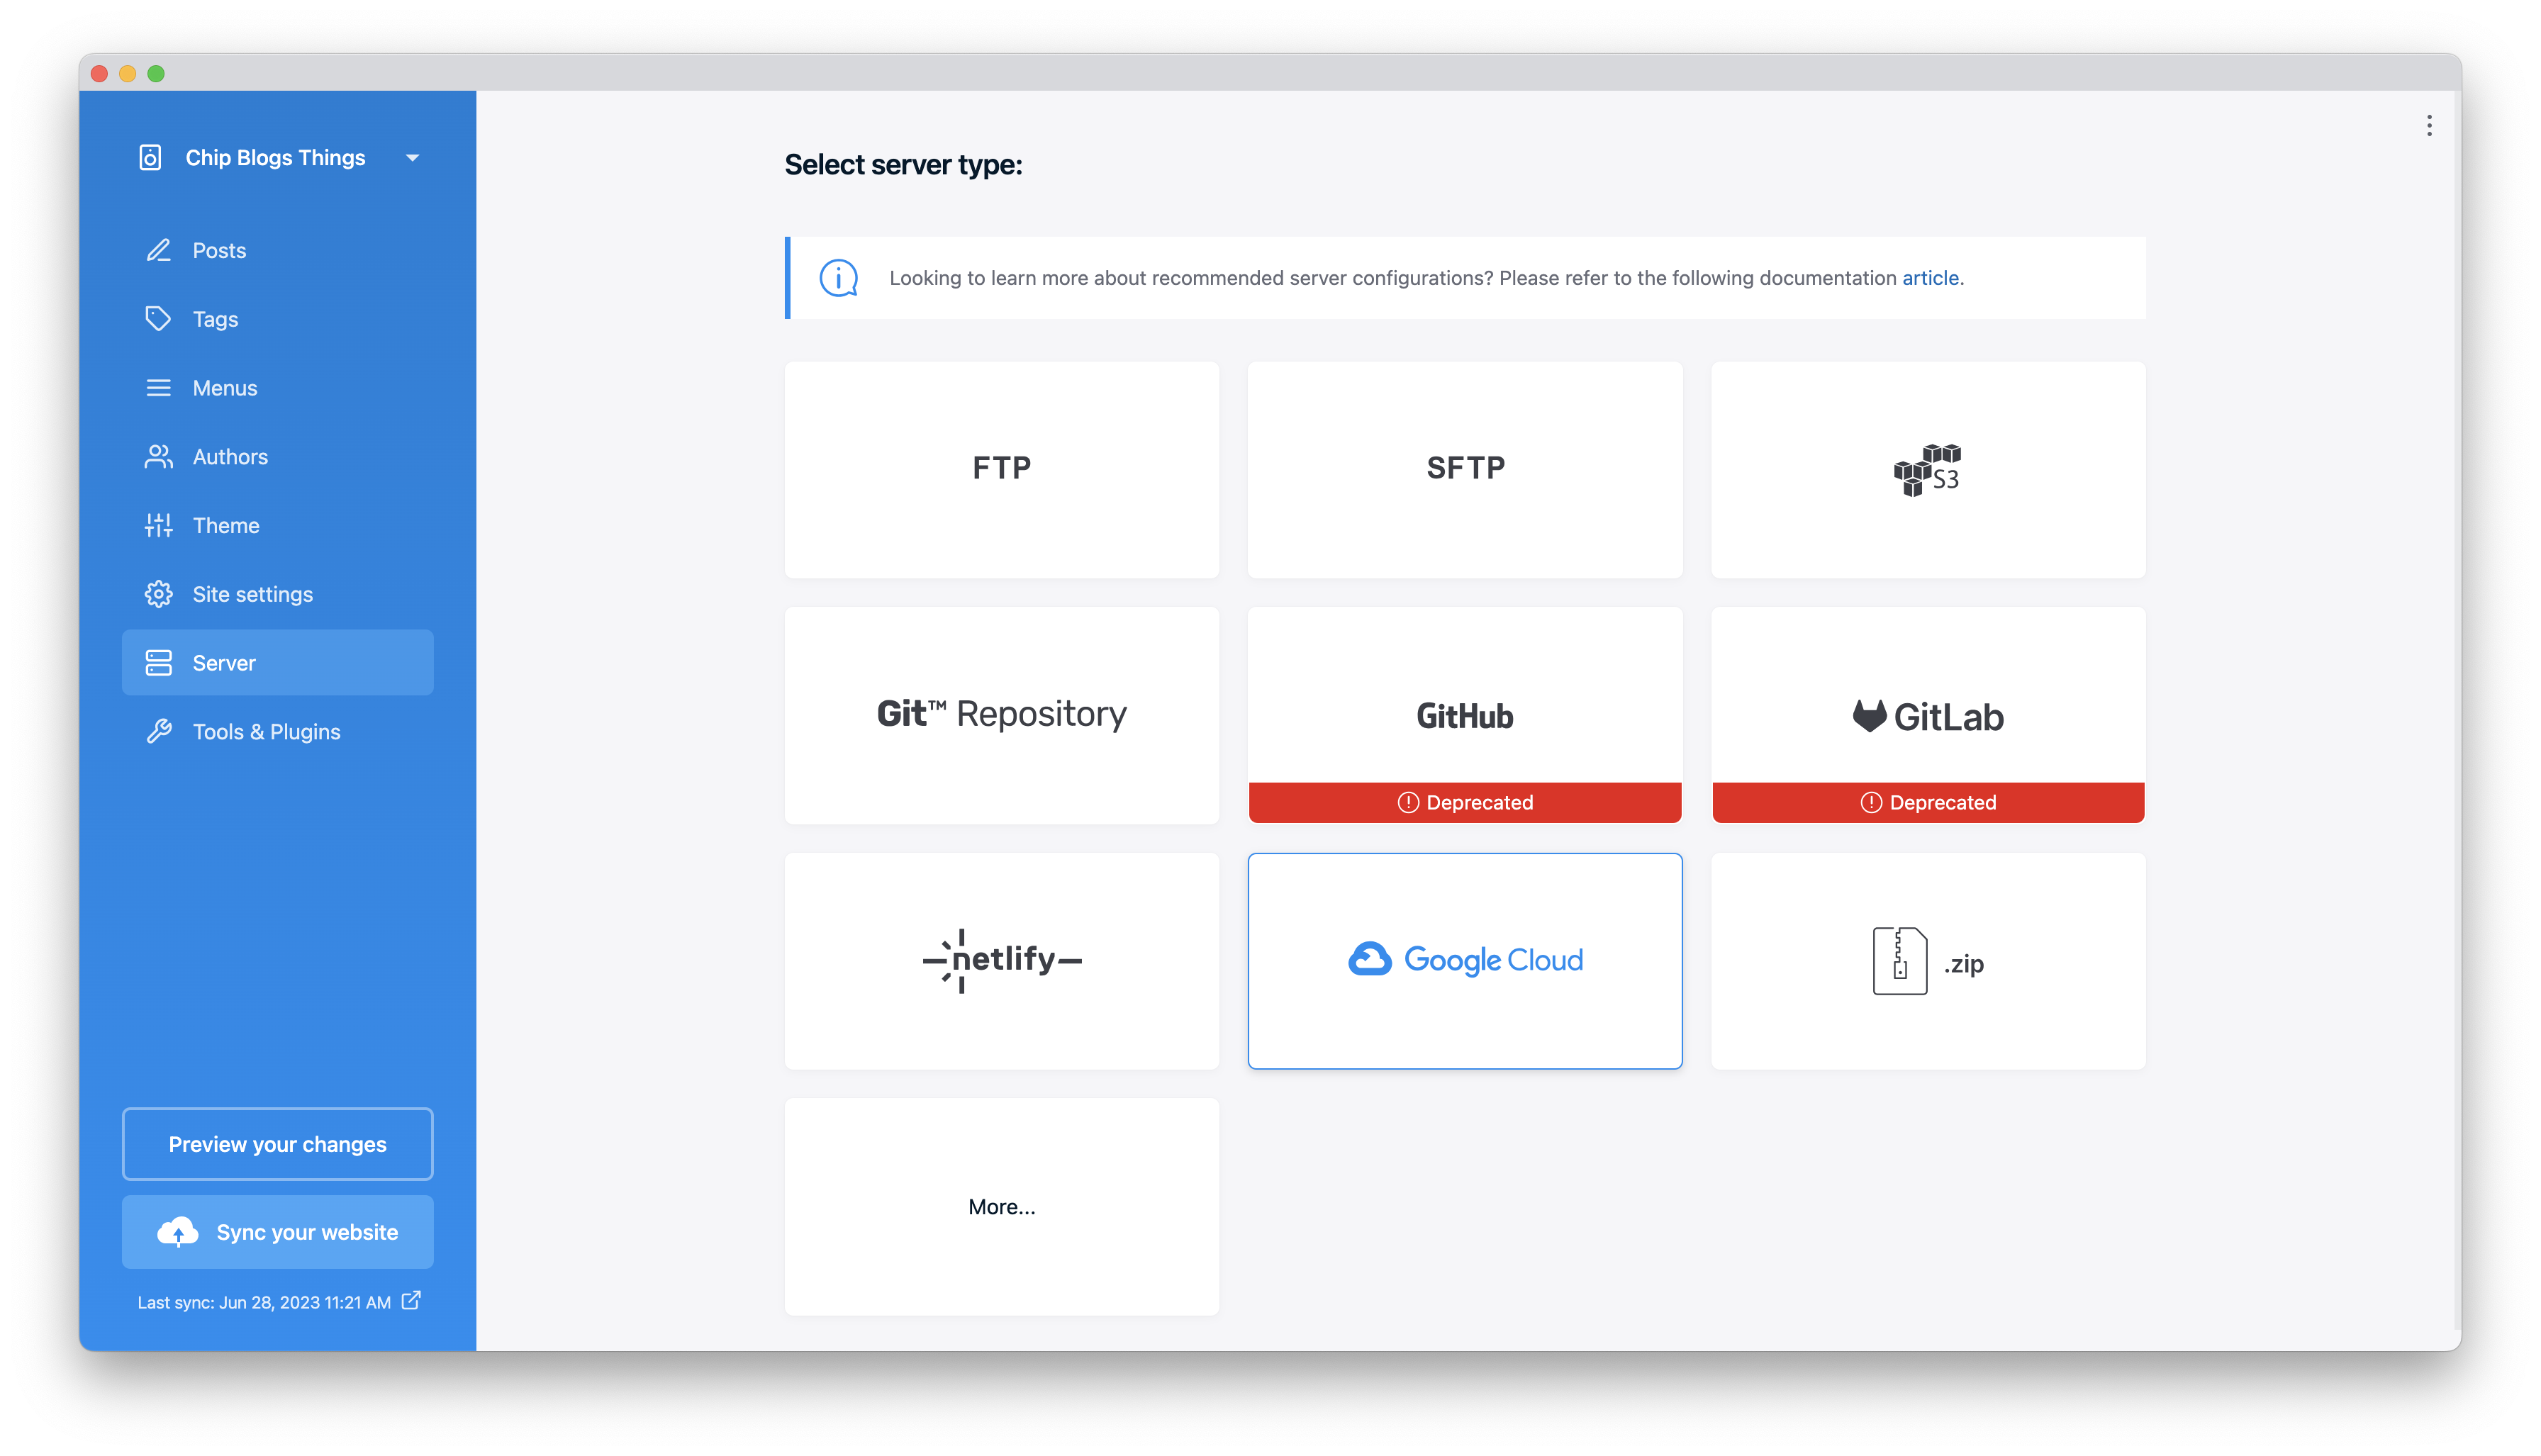
Fill in the form with the correct details for your particular GitHub repository.
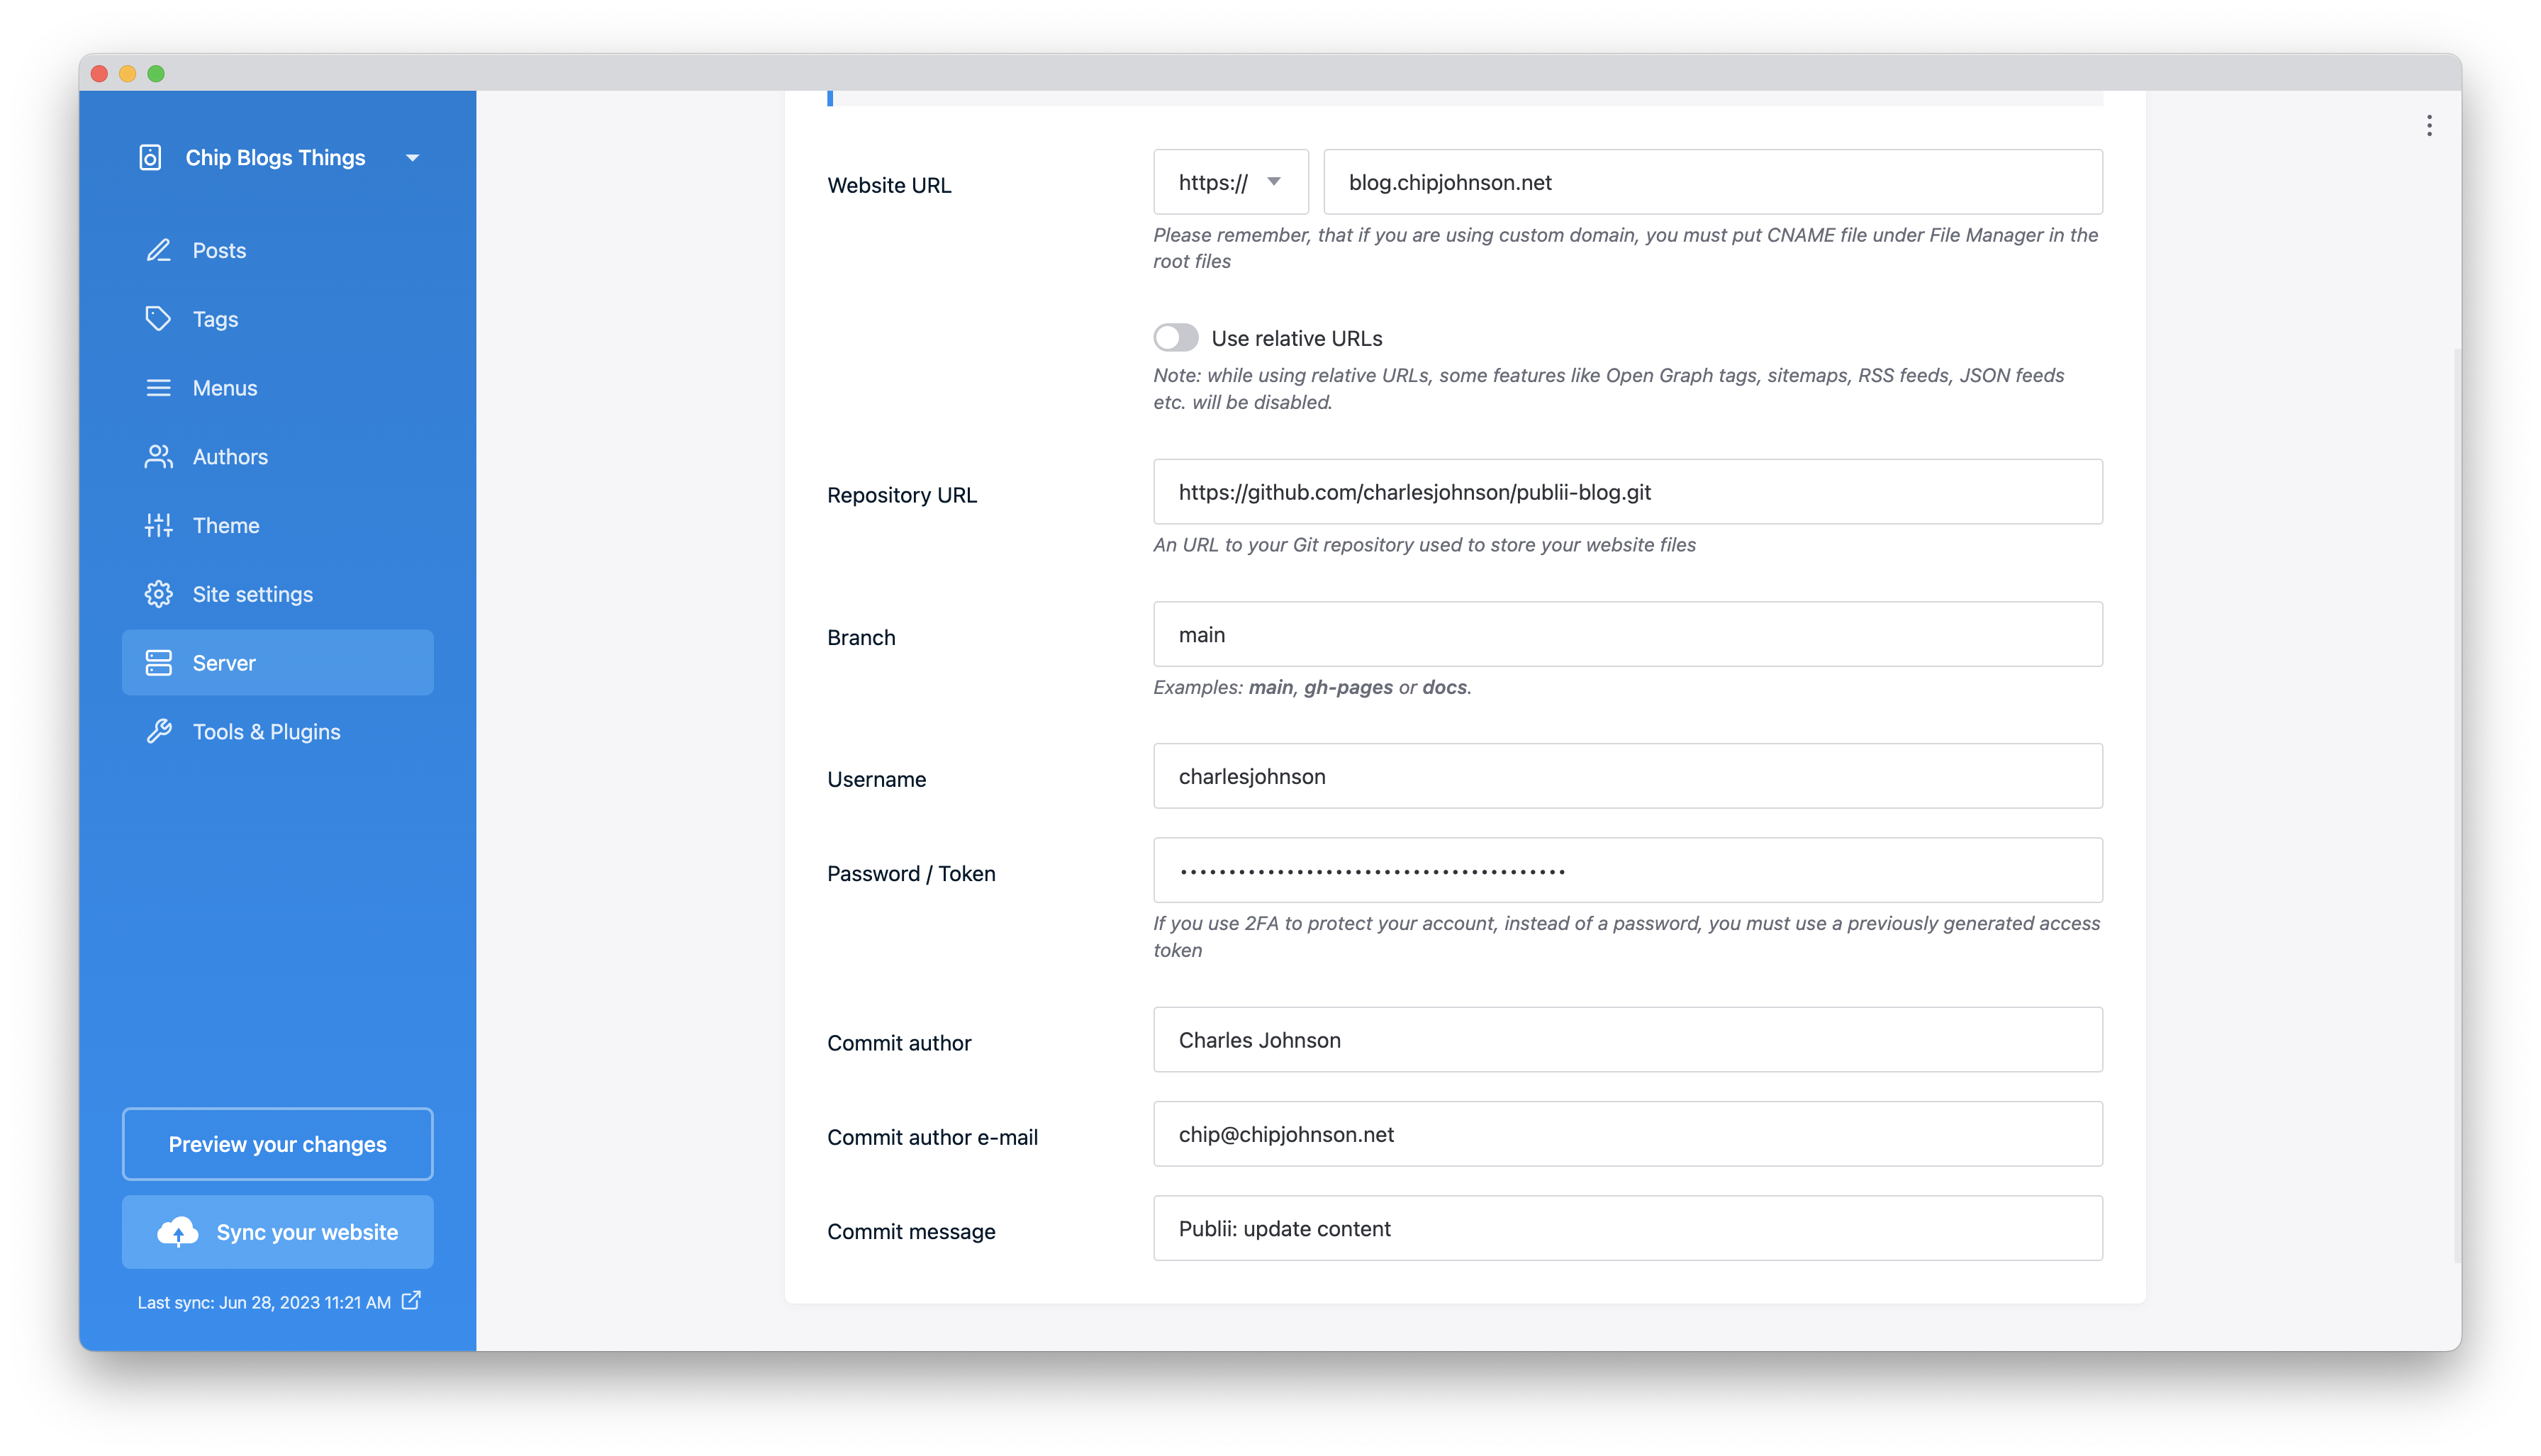
Note: At the time of this writing, the Test Connection button was broken for me on Publii 0.45.2. Your mileage may vary.
Conclusion
You should be ready to publish with the proper repository URL, CNAME, username, and a valid token. Click Publish to make sure everything works correctly.
This isn't a particularly complicated migration, but land mines in the form of the CNAME file, the need to grab the entire repository URL ending in .git, and the requirement to generate a new token make it trickier than it otherwise needed to be. Now that Publii is reconfigured, I can return to the business of rarely updating it.